Monday, December 31, 2012

Ringin' in the New Year TwoJunkChix Style!!


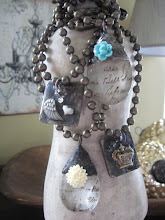
As usual, when Andrea and I get together, we craft.  She came down to Virginia to visit and we made these *unique* garlands that we wanted to share with all of you.  We just love how they turned out!


You are NOT going to believe what they are  made out of!!  We had fun with out Facebook friends trying to guess what medium we used.  We had some great guesses, like fleece, felt, wool, and fabric but we used none of those.  We used something so basic that every household has.......we used paper towels!  To be exact, we used Viva brand paper towels because they feel more like fabric.


Since they are basic white and as much as we love white, Andrea knows how much I love gray, we dyed a bunch of them gray, too.  {We used Rit Dye in Pearl Gray} To get them to dry quickly, my wonderful husband, Brian gave us the idea to dry them in the microwave.  We did this in 30 second intervals.  
Here is how we made "flowers" from the paper towels.  We cut them in half longwise and layered 3 sheets on top of one another.  Then we folded them accordion style, tied the center with jute twine and then started fluffing and fanning them out.  

We purchased garden craft lights because we liked the brown cord as opposed to white or green.  We then tied our paper towel flowers to the light strand.  We wanted to make our lighted garland a bit more fluffy, so we cut strips of paper, strips of paper towel, and accordion folded natural coffee filters and tied them together with jute twine.  We tied them in between the flowers for a fuller effect.

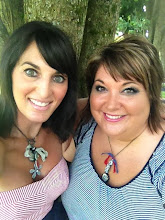
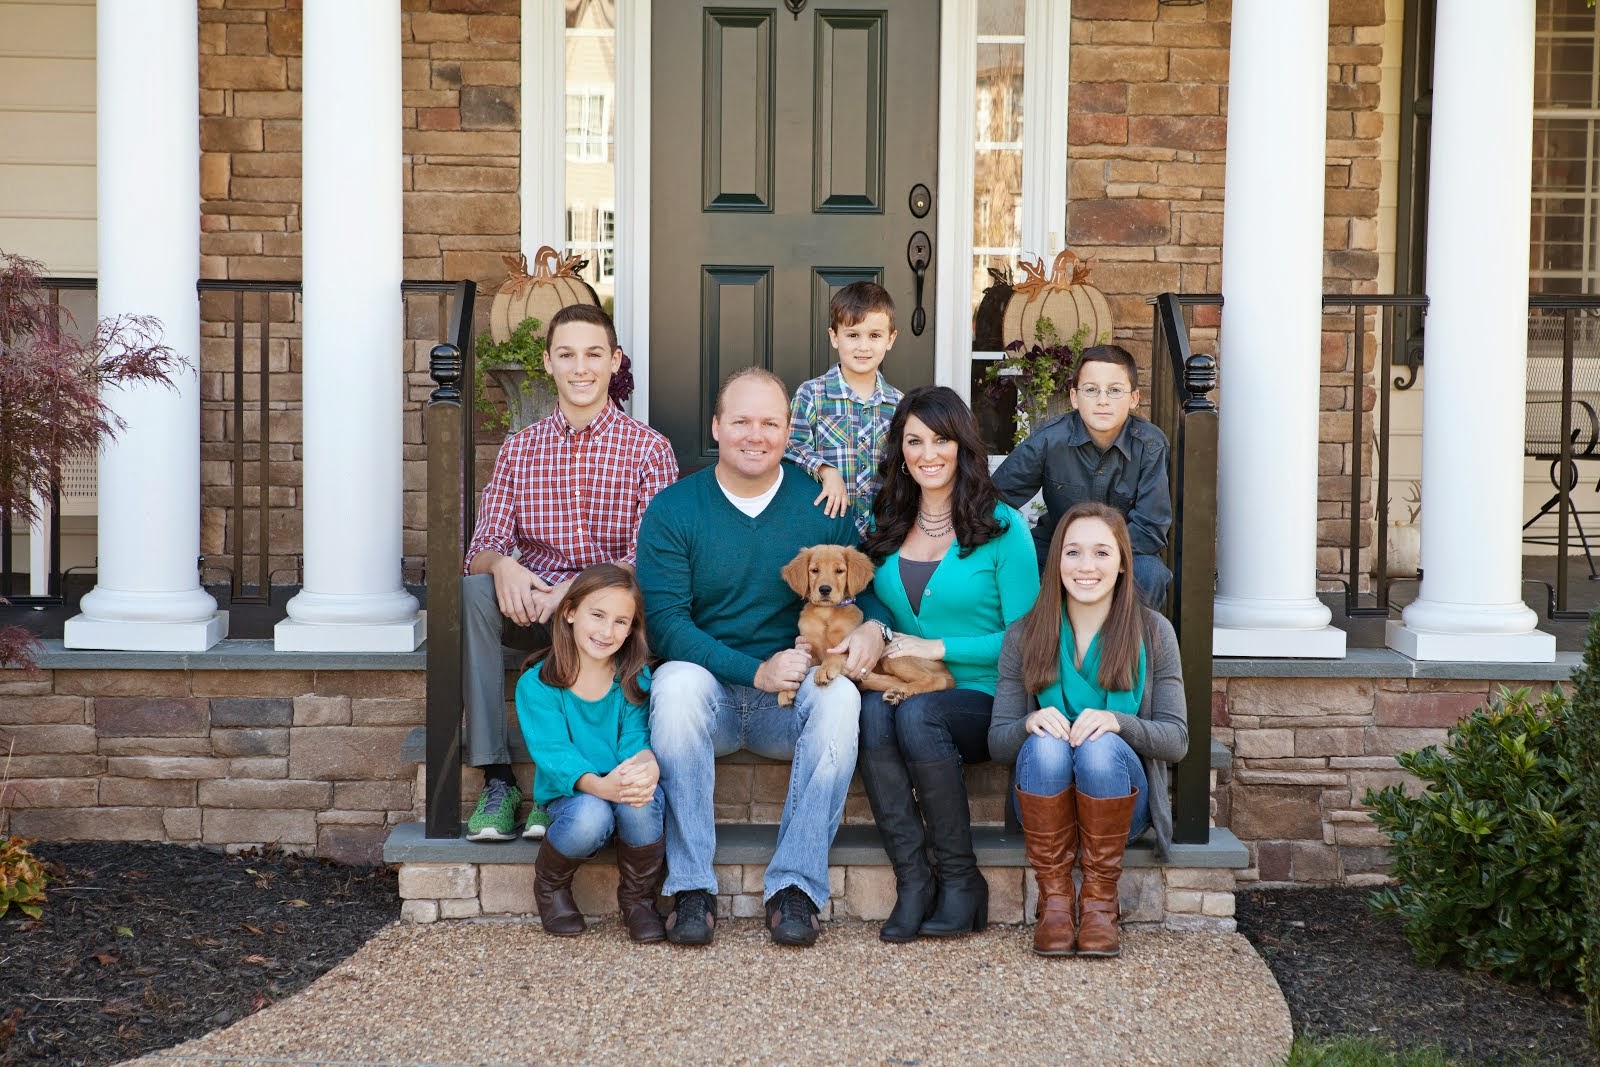
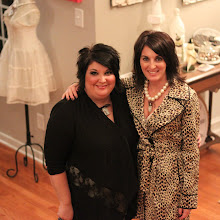
Here I am getting my craft on!  


Here is Andrea getting her craft on!  She is going to share her garland with y'all when she gets back to WV.


Happy Crafting in 2013!!!
tia & andrea


Thursday, December 27, 2012

Upholstery Tack Canvas Art


 Valentine's Day is going to be here before we know it so I wanted to get a jump start on a new craft.  I like to do projects that don't scream the specific holiday so you can utilize them all year long.  Everyone knows how much I just LOVE chevron and I found this beautiful red and cream chevron duck fabric that I have been wanting to use.


♥ ♡ ♥


I cut the fabric 1-1/2" larger than the canvas size I used and stapled it to the wooden frame of the canvas.  Since I used upholstery tacks that have a longer shaft, I hot glued a thick piece of foam core board to the back of my canvas so the tacks wouldn't poke through.  You can also do this with thumb tacks that have a shorter shaft but since I had these gorgeous upholstery tacks on hand, I decided to use them.


Using a stencil, I positioned my letters on the fabric covered canvas and drew them out using a pencil.  Now the fun part is pushing all the upholstery tacks in to fill in your stencil.  I had to use a hammer on some of these to get them through the wooden frame.  


I could have just left it alone but I wanted to take it one step further and glittered an old wooden clothes pin with silver glitter and hot glued it to the top of the canvas.  Now is houses this adorable black and white photo of my 5 kids.  You can change out your pictures or clip an old Valentine card on it.  I'm working on some more that say XOXO using pink and white striped flannel fabric.  LOVE!!!

Giddy up!!
tia & andrea


Wednesday, December 26, 2012

➽ ➽ ➽ Happy 2013 ➽ ➽ ➽

Hope all of you have had a very Merry Christmas.  I'm looking forward to the New Year!!  Andrea and the rest of my family will be here tomorrow night and I am so excited!!  So I decided to make this adorable New Year's centerpiece to welcome them as we ring in 2013 together.


Using vintage ledger paper, dowels with glittered wooden balls on the ends, vintage enamel watch faces, tinsel and number stickers, I was able to create this whimsical centerpiece of flags, lollies, and a party hat.  I just love how it turned out!  I think I'll keep it out the entire month of January.  


Using my go to vase of sugar, I felt it needed one more thing so I added 2 vintage clock faces that I've had in my decorating stash for years now.  I just love clock and watch faces and they are perfect for a New Year's theme.


happy new year and giddy up!!
tia & andrea


Monday, December 17, 2012

RePurposed Christmas Card BoOk

Every year we get lots of Christmas cards from friends and family all over the country.  We love seeing all the kids precious faces, seeing how everyone has grown and changed and love getting updates on everyone from the year.  But what I don't love is not having a place to store all of these wonderful cards that we get.  And I don't like throwing them away.  I guess you can say I'm somewhat of a card hoarder.....LOL!  So I decided to make my own special book just for Christmas cards.

*
➸ ➸ ➸
*


Everyone who knows me knows how much I love to work with paper.  So I took all the pages out of this old book and set them aside for future wreaths and other paper projects.  Punched a few holes in the book, added metal rings and some simple scrapbook supplies and now I have a place to keep all of my favorite Christmas cards.  This took only a few minutes to do, looks cute and now I have all of our Christmas cards in one spot.


Giddy up!!
tia & andrea


Sunday, December 9, 2012

Village Christmas Tree revamp

My dining room table with the finished trees
 
The idea got stuck in my head once I saw these little trees at a store in Kentucky that we were shopping at.   I loved them but the price for me was too much to pay.   The ranged from $19-29 each.   I knew I could recreate for much less and I did!!!!!

Supplies needed
*Trees I picked mine up from Walmart in the Christmas village section.  Best prices I found.
The trees are only .75 to $2.00 each one
*Mini Ornaments assorted colors
*Pliers I needed these to pull off the ornament topper
*ModPodge
*Foam paint brush
*glitter I used a mix of gold and silver chunky craft glitter
* glue gun and glue sticks

Glue all ornaments on the trees.
Next take the foam brush and modpodge and stipple the glue on the branches in a tapping motion so that the modpodge doesn't clump up.  
Next sprinkle the glitter on the trees.
WARNING  you will have glitter everywhere!!!
Finished trees displayed on my dining room table with a German glass glitter Santa

Trees upclose

I love them and creating them!!!!
 
 
Andrea & Tia

Weaving stitches

Weaving Stitches is in Pomeroy, Ohio.  It is another favorite store that my mother in law and I like to visit a few times a year.  My favorite time to visit is Christmas Time.  I want it all!!!  I love that the Glitz & Sparkle, Santas & Snowmen, and Trees & Good Smells that fill their store!!!  
If you are ever close to Pomeroy stop in a visit them and I"m sure you will love it too!!
I love the stars and that HoHoHo sign.  I'm regretting right now not getting the Merry Christmas Banner!!!  sigh!!!
Snowman Trees!!!  The sign that is in the middle was on an old stove that says Warm your buns!!!  So cute!!!
I really wanted one of the metal Trees with jingle bells. 
I'm always in love what is on the front porch that is in the front of the store!!
Owls, Santas, Giant snowflakes OH MY!!!  Love it all!!
 
Another picture of the metal tree!!!
 
I loved this display!
That's me "warming my buns"!!!!  LOL!!!
 
Andrea & Tia 

Monday, December 3, 2012

*New* Snowball Wreath to Ring in 2013


* ➸ *

Since our Snowball Wreath from nearly 2 years ago has been so popular and featured in the Dec/Jan 2013 issue of Ladies Home Journal, Andrea and I decided to do a spinoff of the original.  See the orginal post here.   I went back home to WV this past weekend to do a Crimson Clover jewelry show and we were able to get together and craft with our friends to create this new version.  We love how they both turned out.  I did mine with a neutral palette since that is how I decorate for the holidays and Andrea's version is in traditional Christmas colors.

➸ Here is how we made them:
1.  We started with styrofoam wreath forms and wrapped them. I wrapped mine in jute webbing and Andrea wrapped hers in ribbon to match her yarn.  We used burlap on our original wreaths.
2.  Then the fun part begins....wrapping yarn around styrofoam balls of varying sizes.  Be sure to have lots of snacks on hand because this takes patience and a lot of time.  Did I mention it takes a lot of patience?  Use hot glue to secure the yarn.
3.  Since we both have a love for paper, we decided to make paper lollies for the center of our wreath.  You need 2 pieces of same sized paper and fold them accordion style.  We used 12"x12" scrapbook paper.  Once you get one piece of paper folded accordion style, you fold it in half long ways and hot glue it to secure. It will make a paper fan.  Remember those from when you were a kid?  You make your second fan  and all you do is hot glue both fans together to form a full circle.

4.  We used a cardboard cake plate as the base of our paper lollies and hot glued it on the front of the wreath.  Then you just start randomly gluing your yarn balls to the wreath form.  We also added bells to fill in the spaces but you can use ornaments or whatever you like depending on what theme you go with.  And voila.....a gorgeous spin off of the Two Junk Chix snowball wreath!!


I used a grayish Houndstooth paper for the center of my wreath since I went with a neutral palette.  And then added one of my favorite elements....coffee filters!

Andrea used two sizes of paper lollies {thanks to my mad folding skills} and layered hers on top of one another.  I love how this turned out.  Andrea used a metal star and glitter snowflake on top of her lollies.  Gorgeous!!
Here is how they look on our front porches.  We are so happy with how they turned out.  We took something that we and everyone else loved and changed it up a bit to create these unique and original wreaths to adorn our home.


Giddy up and Happy Crafting,
tia & andrea


Related Posts with Thumbnails