Sunday, December 9, 2012

Weaving stitches

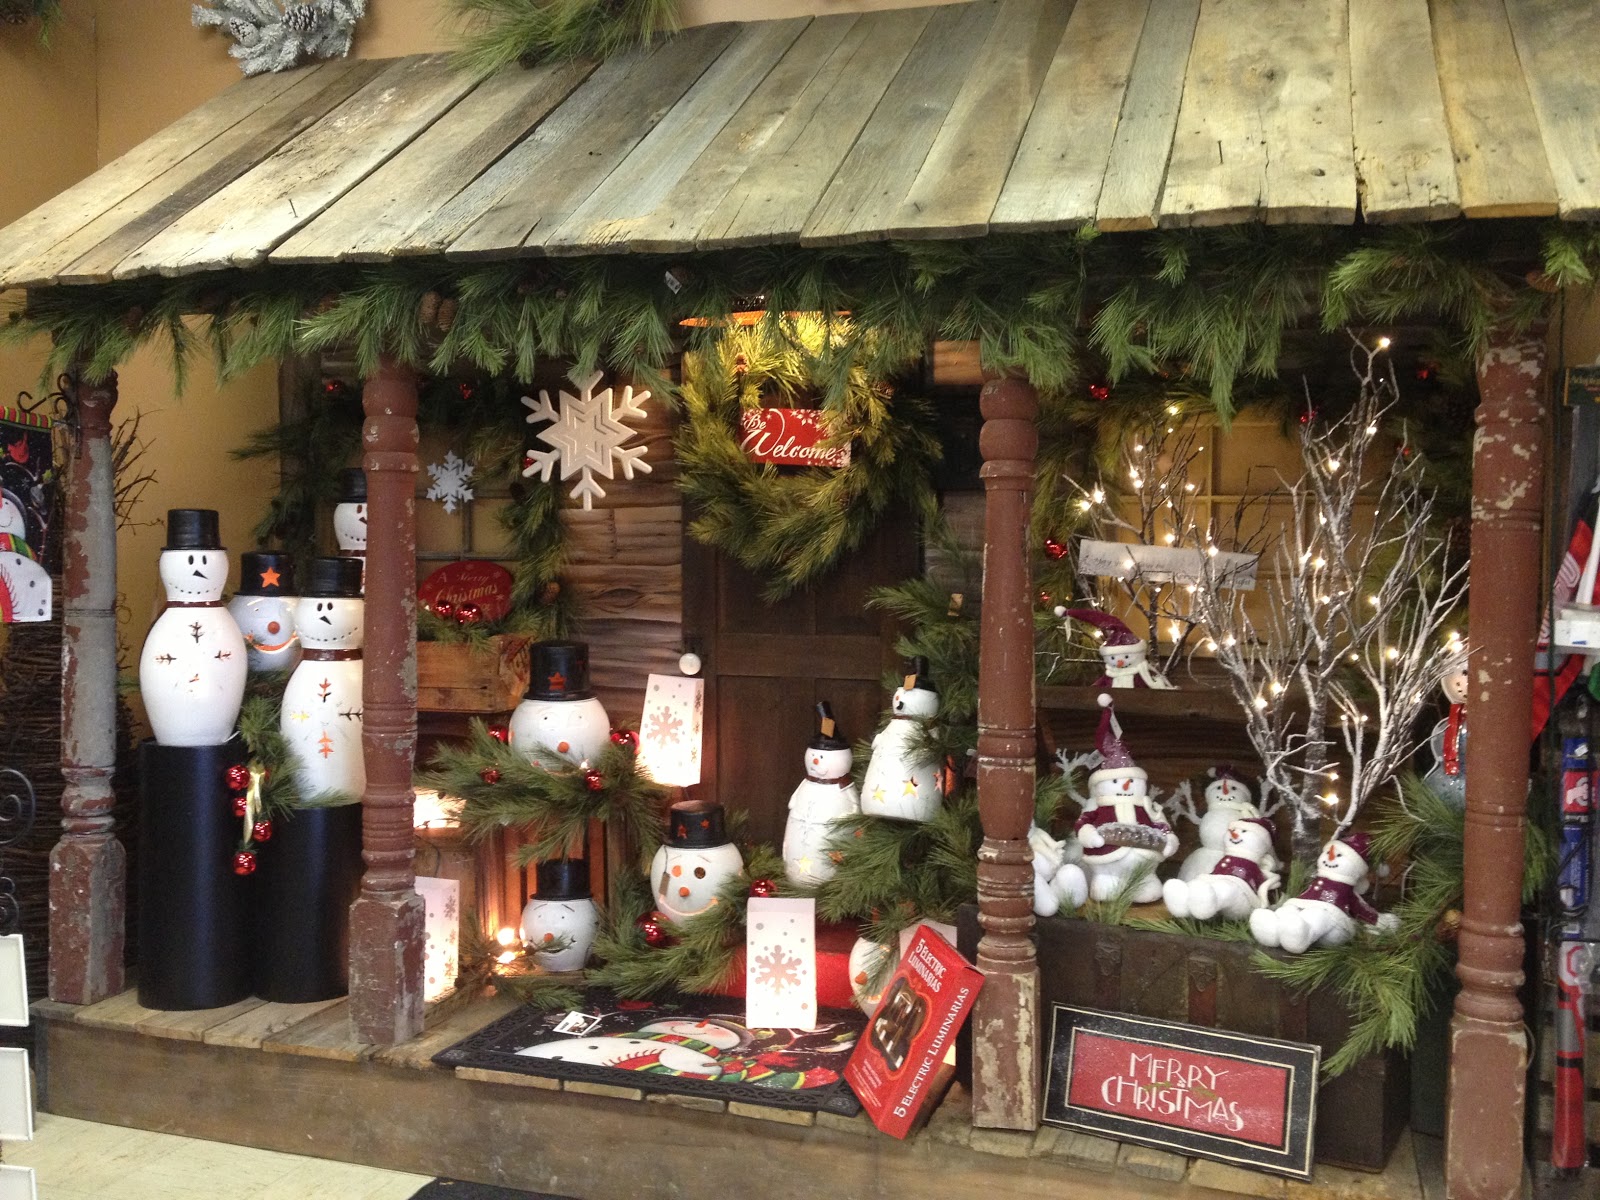
Weaving Stitches is in Pomeroy, Ohio.  It is another favorite store that my mother in law and I like to visit a few times a year.  My favorite time to visit is Christmas Time.  I want it all!!!  I love that the Glitz & Sparkle, Santas & Snowmen, and Trees & Good Smells that fill their store!!!  
If you are ever close to Pomeroy stop in a visit them and I"m sure you will love it too!!
I love the stars and that HoHoHo sign.  I'm regretting right now not getting the Merry Christmas Banner!!!  sigh!!!
Snowman Trees!!!  The sign that is in the middle was on an old stove that says Warm your buns!!!  So cute!!!
I really wanted one of the metal Trees with jingle bells. 
I'm always in love what is on the front porch that is in the front of the store!!
Owls, Santas, Giant snowflakes OH MY!!!  Love it all!!
 
Another picture of the metal tree!!!
 
I loved this display!
That's me "warming my buns"!!!!  LOL!!!
 
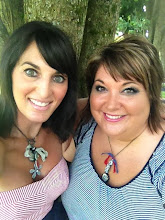
Andrea & Tia 

Monday, December 3, 2012

*New* Snowball Wreath to Ring in 2013


* ➸ *

Since our Snowball Wreath from nearly 2 years ago has been so popular and featured in the Dec/Jan 2013 issue of Ladies Home Journal, Andrea and I decided to do a spinoff of the original.  See the orginal post here.   I went back home to WV this past weekend to do a Crimson Clover jewelry show and we were able to get together and craft with our friends to create this new version.  We love how they both turned out.  I did mine with a neutral palette since that is how I decorate for the holidays and Andrea's version is in traditional Christmas colors.

➸ Here is how we made them:
1.  We started with styrofoam wreath forms and wrapped them. I wrapped mine in jute webbing and Andrea wrapped hers in ribbon to match her yarn.  We used burlap on our original wreaths.
2.  Then the fun part begins....wrapping yarn around styrofoam balls of varying sizes.  Be sure to have lots of snacks on hand because this takes patience and a lot of time.  Did I mention it takes a lot of patience?  Use hot glue to secure the yarn.
3.  Since we both have a love for paper, we decided to make paper lollies for the center of our wreath.  You need 2 pieces of same sized paper and fold them accordion style.  We used 12"x12" scrapbook paper.  Once you get one piece of paper folded accordion style, you fold it in half long ways and hot glue it to secure. It will make a paper fan.  Remember those from when you were a kid?  You make your second fan  and all you do is hot glue both fans together to form a full circle.

4.  We used a cardboard cake plate as the base of our paper lollies and hot glued it on the front of the wreath.  Then you just start randomly gluing your yarn balls to the wreath form.  We also added bells to fill in the spaces but you can use ornaments or whatever you like depending on what theme you go with.  And voila.....a gorgeous spin off of the Two Junk Chix snowball wreath!!


I used a grayish Houndstooth paper for the center of my wreath since I went with a neutral palette.  And then added one of my favorite elements....coffee filters!

Andrea used two sizes of paper lollies {thanks to my mad folding skills} and layered hers on top of one another.  I love how this turned out.  Andrea used a metal star and glitter snowflake on top of her lollies.  Gorgeous!!
Here is how they look on our front porches.  We are so happy with how they turned out.  We took something that we and everyone else loved and changed it up a bit to create these unique and original wreaths to adorn our home.


Giddy up and Happy Crafting,
tia & andrea


Tuesday, November 27, 2012

Up cycled Glittered Christmas Bulbs

So I had an old strand of C7 Christmas lights that didn't work anymore and instead of throwing them away and ending up in a dumpster somewhere, I decided to give them a new life and some BLING! This is so easy to do. My kids even helped!

We brushed glittering glue on each bulb and then poured German glass glitter on them. You could use any glitter but I prefer German glass glitter because of its sparkly factor.

Once they dried, I thought I could put them in a glass vase or a glass cloche but why? That would be expected. So instead, I adorned this vintage stamp holder that my mom gave me. I gave it a quick paint job with my favorite robins egg blue paint from Design Master. I just love how it adds a little touch of unexpected to the Christmas decor.

Bling on!!!
Tia and Andrea


Friday, November 16, 2012

*Happy Fall Y'all*

I LOVE fall! And here in Virginia, we have a gorgeous fall. Every year I look forward to my husband's fried turkey. Yum!!! I have a little collection of vintage turkey candles but never know what to do with them.

So this year, I proudly displayed one of these little guys in a fun and easy DIY project. I had these quirky turquoise candle sticks and permanently attached an old glass jar lid to one of them. Added my little turkey candle, some burlap ribbon, coffee filters, and old flash cards and voila....a cute fall display. After Thanksgiving, I think a cute glittered snowman will replace the turkey.

Happy fall y'all!!!
Tia and Andrea

Thursday, November 15, 2012

What? Thanksgiving is next week


I am really having a hard time believing that Thanksgiving is in a week!!!
I keep thinking didn't we just do this?!?  LOL


Anyways I'm trying to get with the program and do a little decorating for the holiday!
I made this burlap banner using some burlap ribbon from Hobby Lobby. The ribbon is woven tight and that made it easy to stamp on.    I love love love my Mr & Mrs mercury glass Pilgrims that I picked up last year.  Everything else is an mix of thrifted items and pumpkins. 
 
Andrea
 

Monday, November 5, 2012

Happy Homemade Halloween....a few days late!!!!

 
Even though Halloween is over, we wanted to share our costumes from this Halloween.
Tia and I both made our costumes this year!!!!
 
I was an owl.  I love owls so it was a perfect choice for me.   My mask was all feathers and makeup that I did.  That's my son in the picture with me.  He made the cutest Waldo.
 
 
Tia made a loofah and soap costume for her and her husband, Brian.   It was great and they won a trophy at a Halloween party that they went to.   
 
Love,
Andrea & Tia

Tuesday, October 30, 2012

CaNDy CoRN

A little over a week ago, I made a fast craft with my friend Valerie.     We made the Candy Corns out of cream burlap.   Valerie made us templates to use to trace out the Candy shapes onto the burlap.  Once the shapes were cut out, we painted the burlap with craft acyclic paint in candy corn colors.   Once the paint dried we added some jute to hang them from.    I already had the feather wreath on my door and I added my Candy Corn that I made to the wreath.    


    Happy Halloween!!!! 
Love Andrea

Related Posts with Thumbnails